Creating new elements in Explorer
New elements can be created in the Explorer tree by calling up the New element item in the pop-up menu. This opens a submenu containing the element types that can be created within the selected element. Figure 70 shows this pop-up menu for a group. The four types Group, Model, Package, and Profile are available.
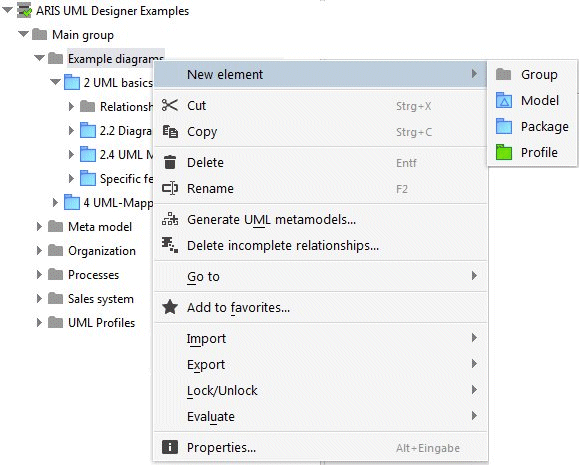
If you call up this pop-up menu for a UML element, the number of possible element types that you can create within the selected element may exceed the capacity of the submenu. In this case, only the most important element types are provided directly in the submenu. As the maximum number of pop-up menu items depends on the screen size and resolution, you can specify the maximum number of items that this kind of pop-up menu can contain in the global options for ARIS UML Designer.
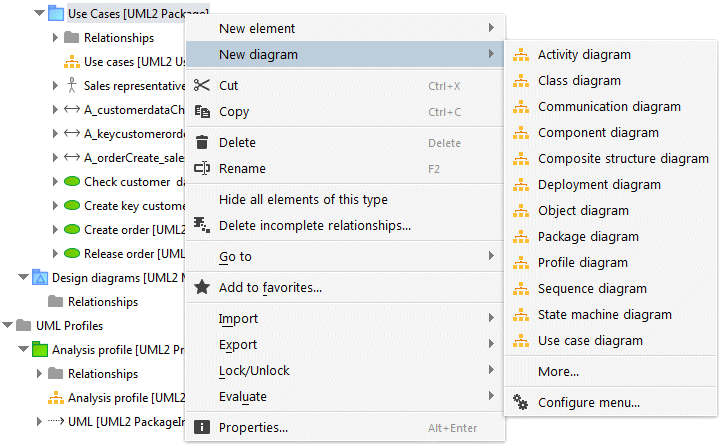
Figure 71 shows the pop-up menu for creating a new UML element in a UML package. In addition to the element type, each menu item also contains the property under which the new element is created in the superior element. In this example, most elements would be created as packagedElement in the package (see also Figure 28: Namespaces diagram from the UML specification).
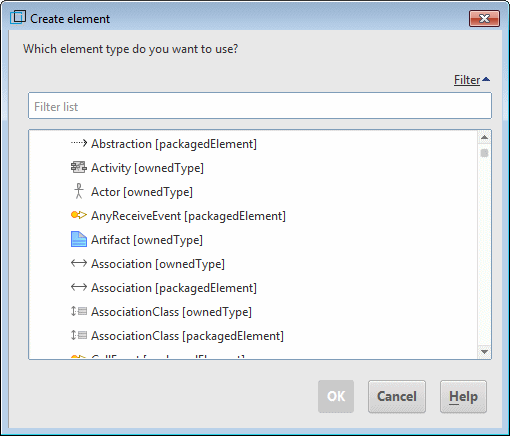
Clicking More... opens the Create element dialog, which lists all UML types that can be created within a package but are not included in the pop-up menu (see Figure 71).
The content of the New element submenu can be individually adapted for each UML element type, allowing you to add the most important element types from a user perspective to the menu and to remove those that are not so important. Clicking the Configure menu item shown in Figure 71 opens the corresponding menu configuration dialog.
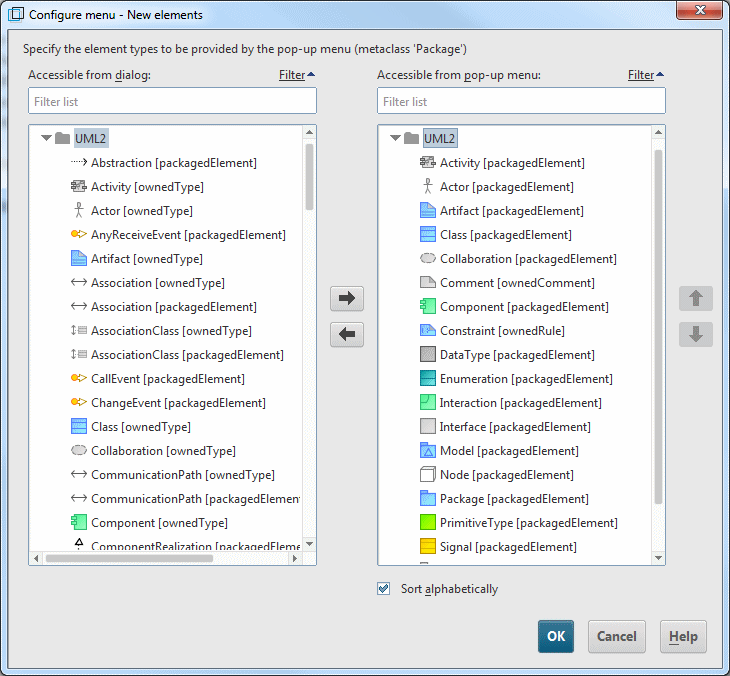
Figure 73 shows the dialog for configuring the New model element pop-up menu. The right-hand column contains all element types that are directly included in the pop-up menu, the left-hand column those that are available for selection in a dialog by selecting More.... If Sort alphabetically is enabled, the elements in the pop-up menu are sorted alphabetically. Otherwise, you can individually specify the order of the elements in the pop-up menu. Regardless of this setting, the element types in the dialog are always sorted alphabetically.
If you have a created a new element in Explorer, UML-specific text editing for the element is automatically activated.
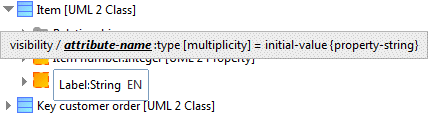
The syntax help highlights the area to which the current cursor position in the text box relates. If the current text relates to a different UML element, all UML elements already loaded from the database whose name begins with the text entered and which are of the matching type are shown in a selection list:
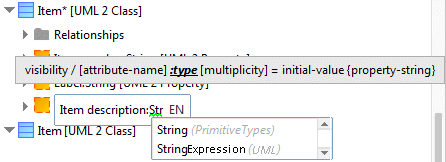
If a UML element is referenced that does not yet exist or has not yet been loaded from the database, its name is underlined with a green wavy line:
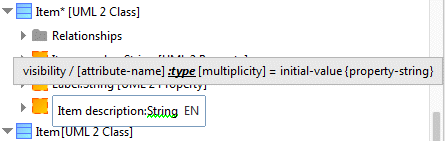
If you exit text editing in this situation, every unknown element is listed in the Assign reference dialog and you are offered the option of creating new elements or searching the database for matching elements.
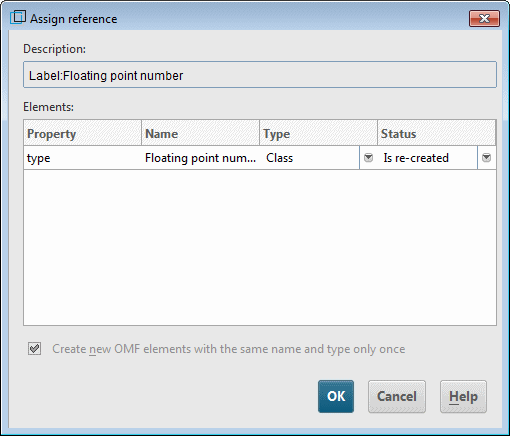
With no further entries in the dialog shown in Figure 77, clicking OK creates a new class with the name String as the type for the Item description attribute.
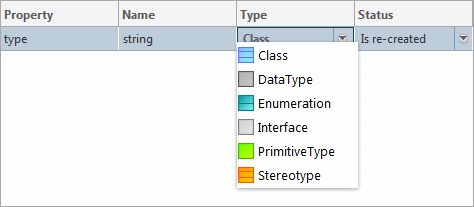
In the Type column you can specify the exact type if a new element is to be created.
The Status column describes whether a new element is created or whether an existing element from the database is assigned. Clicking the button on the far right allows you to select from both options.
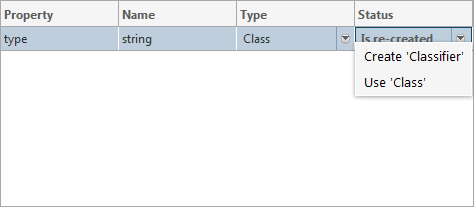
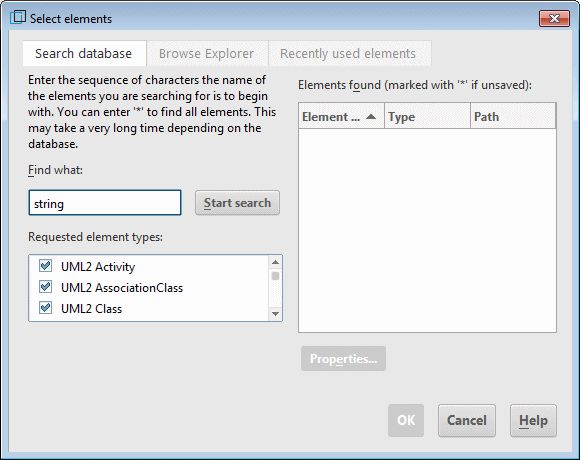
Selecting Use opens the Select elements dialog for searching for the element in the database.