Assignment of profiles to a package
Before you can use stereotypes of a profile, you must assign the profile to the package within whose hierarchy the stereotypes are required. The term package here also includes the two UML types Model and Profile, which are special types of packages.
The assignment is made on the Applied profiles properties page by clicking  Apply profiles.
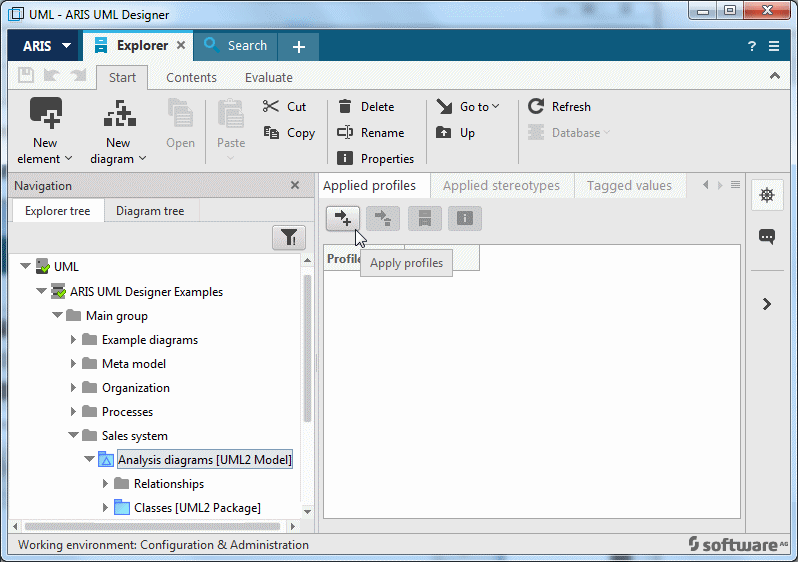
The Apply profiles dialog opens and contains the profiles to be assigned to the package.
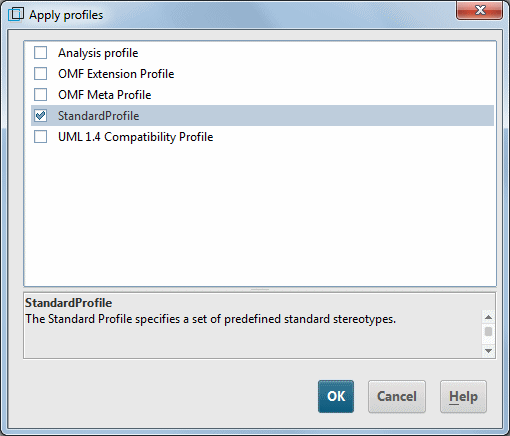
Figure 196: Profile selection dialog
The dialog lists all profiles that can be assigned. Enable the corresponding check box to indicate that the profile is to be assigned to the package.
If a profile is already assigned to the package, its check box is enabled automatically. In this case, you can disable the check box to indicate that the assignment of the profile to the package is to be removed.
When you select the profile in the dialog by clicking the text, a description of the profile is shown in the lower section of the dialog. The same description is also displayed as a tooltip if you move the mouse pointer over a profile name for a short time.
Clicking OK assigns the selected profiles to the package.
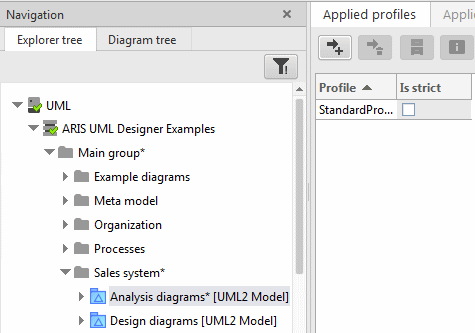
Figure 197: Package with assigned profile
By enabling the Is strict check box in Figure 197 you can specify that restrictions defined by the profile cannot be canceled by other assigned profiles. The predefined profiles contain no restrictions.
As soon as a profile has been assigned to a package, its stereotypes are available in the package hierarchy.