Assignment of stereotypes to a UML element
Stereotypes are assigned to an element on its Applied stereotypes properties page by clicking  Apply stereotypes.
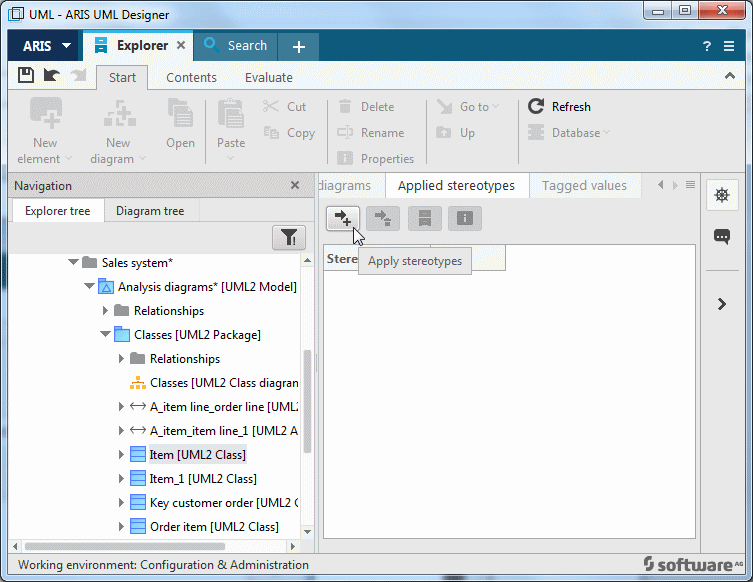
Figure 198: Applied stereotypes properties page
The Apply stereotypes dialog opens and contains the stereotypes to be assigned to the element.
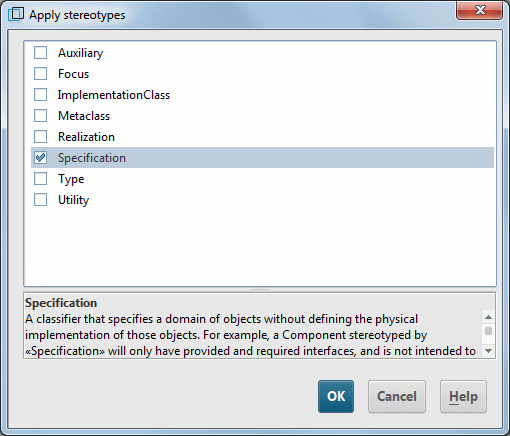
The dialog lists all stereotypes that can be assigned. Enable the corresponding check box to indicate that the stereotype is to be assigned to the element.
If a stereotype is already assigned to the element, its check box is enabled automatically. In this case, you can disable the check box to indicate that the assignment of the stereotype to the element is to be removed.
When you select the stereotype in the dialog by clicking the text, a description of the stereotype is shown in the lower section of the dialog. The same description is also displayed as a tooltip if you move the mouse pointer over a stereotype name for a short time.
Clicking OK assigns the selected stereotypes to the element.
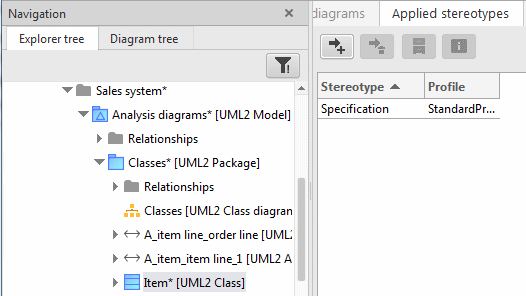
Stereotypes can also be assigned for multiple elements at the same time. To do this, select the corresponding elements in the Explorer tree or in the diagram and display their properties.
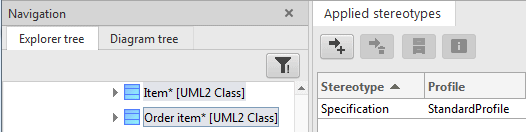
All stereotypes assigned to the selected elements are displayed. If a stereotype is not assigned to all selected elements, the entry is displayed in gray instead of black text in the table. You can click Apply stereotypes to simultaneously add stereotypes to all selected classes.
The stereotypes of the standard profile do not define any new properties. The subsequent section on user-defined profiles explains how to display and edit the corresponding tagged values.